


DIY Screen Repair Kit vs Professional Service: Compare Costs

A DIY repair can make sense for a small tear in an accessible screen, while larger or harder-to-reach damage is usually better handled professionally. Choosing a DIY screen repair kit vs professional service depends on more than the kit’s price: your tools, repair skills, the condition of the frame, and the finish you want all matter.
It’s easy to see the appeal of doing it yourself: you can work on your own schedule and avoid labor costs. But replacing mesh evenly without damaging the frame takes care, especially across a large panel. This guide compares the tools and materials a DIY repair may require with professional repair work. You’ll learn which situations are more manageable at home, what makes the job challenging, and how to weigh convenience against a neat, secure result.
Table of Contents
Professional repair expertise and tools
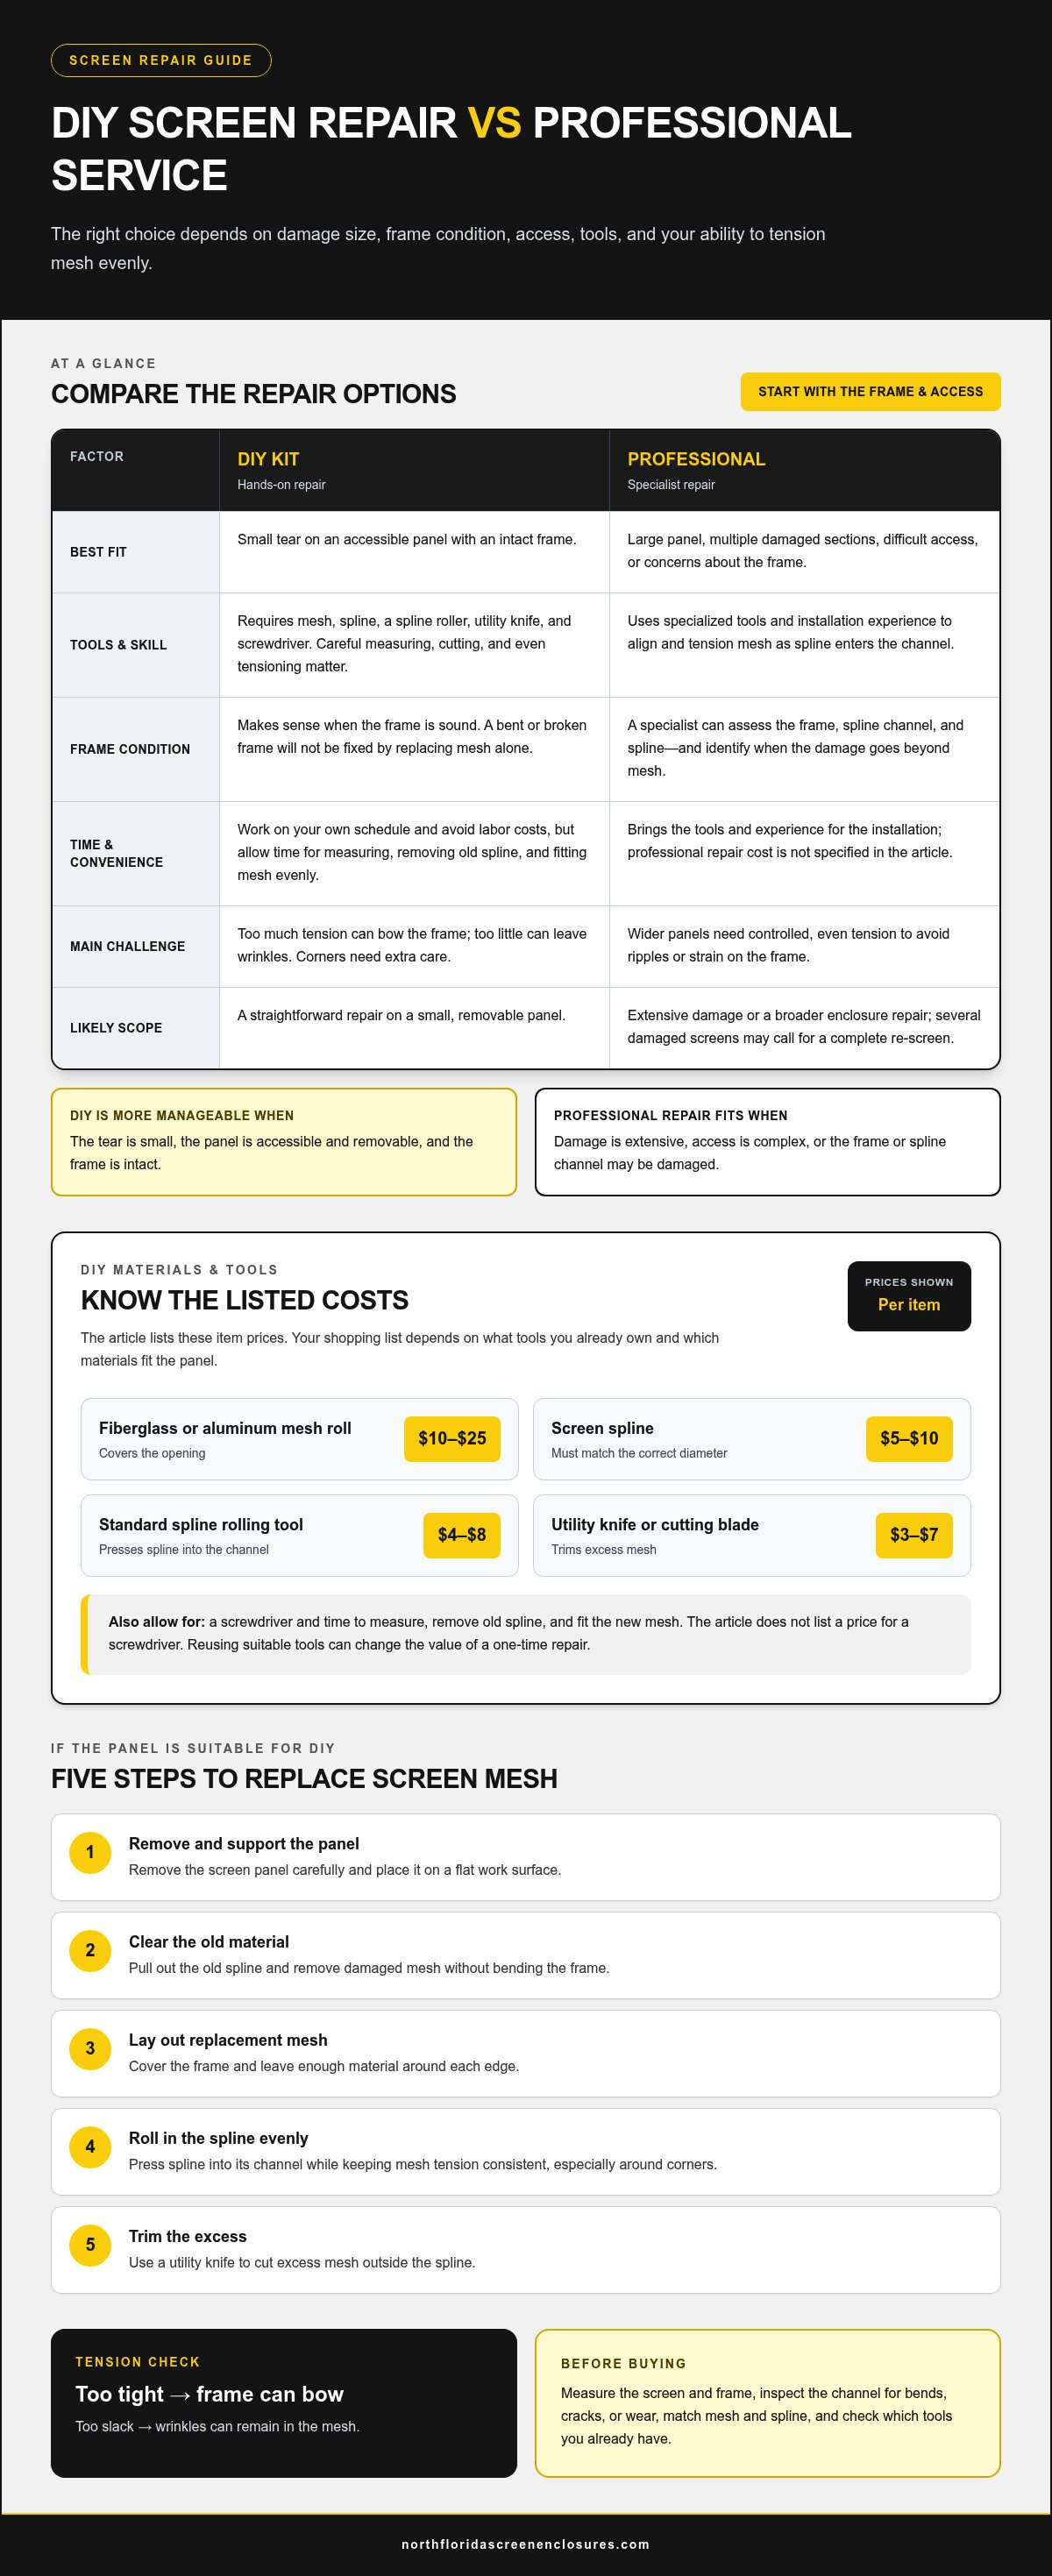
A screen repair depends on the mesh, spline, frame, and access. A small tear in an intact panel is different from damage across a large enclosure. The decision comes down to whether the frame is sound and whether you can tension replacement mesh evenly. Those details matter more than simply owning a repair kit.
Choose professional screen repair when damage covers a large panel, affects several sections, or involves a bent frame. A specialist can assess the frame and spline channel before removing the old mesh, then fit replacement material with even tension. That matters on a wide enclosure panel, where uneven pulling can leave ripples or strain the frame.
A damaged screen can often be repaired by replacing torn mesh while keeping an intact frame. If the frame is bent or broken, replacing only the mesh won’t fix the structural damage; the frame may also need repair or replacement. A small puncture in a square panel, for example, is different from mesh pulled loose at several corners.
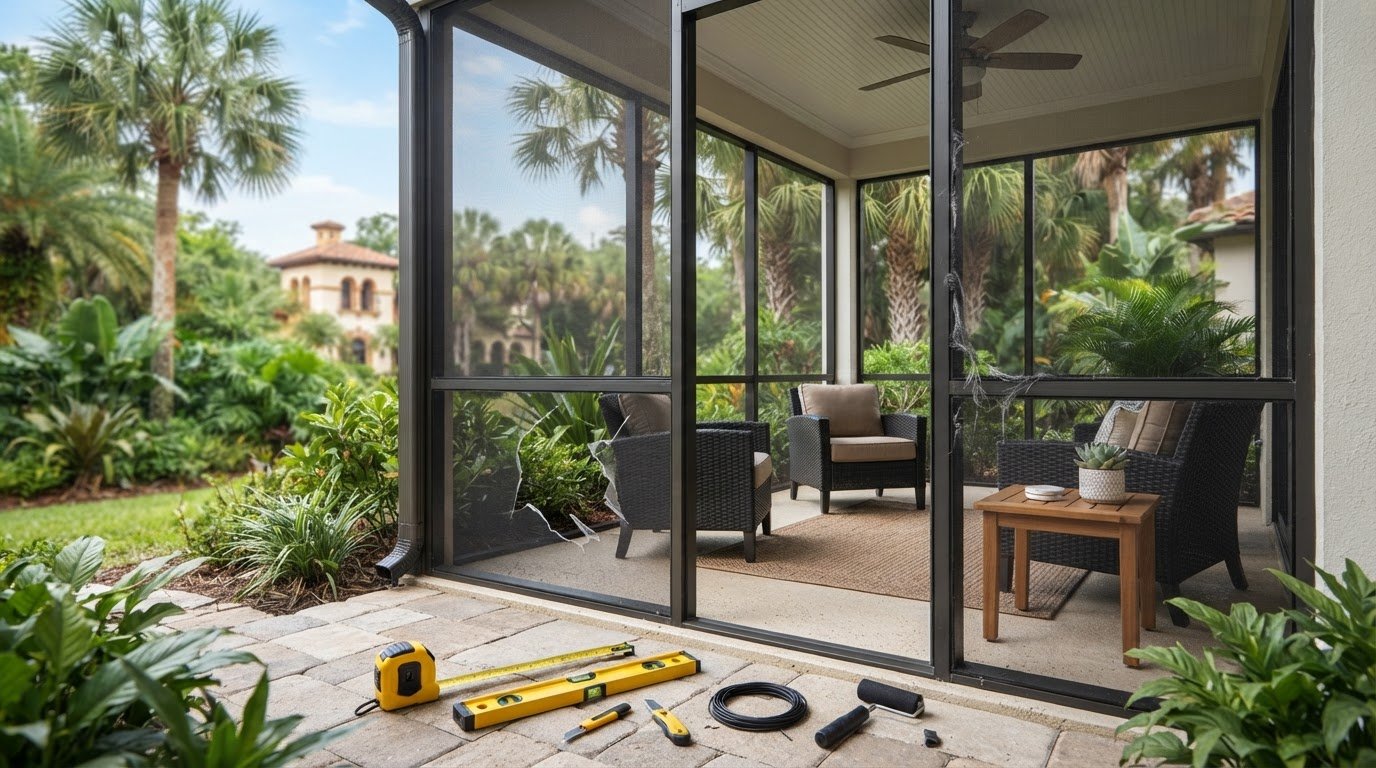
DIY work calls for a spline roller, replacement spline, mesh, utility knife, and screwdriver. These figures cover materials and tools, not the time needed to measure, remove the old spline, and fit the new mesh.
Professional work uses specialized tools to keep the mesh aligned and tensioned as the spline enters its channel. An installer can also identify a damaged channel or hardened spline. Replacing mesh without addressing a worn channel, for example, can leave the new panel loose. A professional assessment can distinguish a mesh-only repair from broader enclosure damage.
For a straightforward DIY repair, follow these steps:
Remove the screen panel carefully, then place it on a flat work surface.
Pull out the old spline and remove the damaged mesh without bending the frame.
Lay new mesh over the frame, leaving enough material around each edge.
Use the roller to press the spline into its channel, keeping tension consistent.
Trim excess mesh with a utility knife, cutting outside the spline.
Each step requires control. Pulling the mesh too tightly can bow the frame; leaving it slack creates wrinkles. Work slowly around corners, where the spline changes direction. A first-time repair on a small, removable panel is more manageable than work on an overhead or unusually wide screen.
Skill, tools, and available time all affect the result. DIY saves labor but requires measuring, cutting, and fitting the mesh; a professional brings the tools and experience to handle those steps. Choose DIY for a small, accessible panel with an intact frame, and professional repair for extensive damage or difficult access.
Professional judgment is useful when a repair involves a concern that cannot be resolved with standard screen-repair steps. A swollen battery, or one that requires aggressive prying to remove, is a reason to have a professional handle the repair. That is different from removing spline or mesh: screen-repair tools and techniques are no substitute for specialist handling. If this concern arises, pause rather than forcing removal and arrange professional help.
The decision is not about whether the task looks small; it is about whether continuing would require aggressive prying. For screen work, consider whether the mesh, spline, frame, and access allow a controlled repair. For this separate concern, treat the stated condition as a clear stopping point. A professional is the appropriate choice rather than trying to overcome resistance with greater force.
DIY kit cost and convenience
Fixing a screen yourself can cost less when the damage is small and the frame remains sound. The initial purchase is only one factor. Mesh size, tools already on hand, time spent fitting the replacement, and the risk of wasting material all affect the overall value. A torn mesh panel is a simpler job than a loose or distorted frame.
For a basic screen repair, the material and tool costs break down this way:
Replacement fiberglass or aluminum mesh roll: $10 to $25
Screen spline in the correct diameter size: $5 to $10
Standard spline rolling tool: $4 to $8
Utility knife or cutting blade: $3 to $7
Those items serve different steps. Mesh covers the opening, spline holds it in the frame channel, and the roller presses the spline into place. A utility knife trims excess mesh after installation. If you already own suitable cutting tools, you don’t need to include that expense in your project total. Buying tools for one repair changes the savings compared with reusing equipment.
Convenience is another part of the decision. A DIY kit lets you choose when to work and avoid arranging an appointment. You can repair a removable panel yourself and keep leftover mesh for a later small repair. But the job still requires a flat work surface, careful measuring, and enough time to remove the old spline and fit the new material evenly.
Before buying, check the panel and materials:
Measure the damaged screen area and note the frame dimensions.
Inspect the frame channel for bends, cracks, or worn sections.
Match the replacement mesh and spline to the existing frame.
Count tools already available, including a spline roller and utility knife.
Compare the complete shopping list with the convenience of avoiding the task.
This check helps prevent buying mesh that doesn’t suit the panel. It also shows whether the repair is a quick fix or a larger job. If the frame is bent, fresh mesh alone won’t solve the underlying problem. If damage extends across several panels, both the materials and the work increase.
DIY becomes less appealing when a repair needs repeated attempts. Cutting the mesh too small may mean buying more; uneven tension can leave ripples that require removing the spline and starting again. Those mistakes can use up the savings, especially if you bought every tool for one panel. By contrast, someone with leftover mesh and a roller may complete a small repair with fewer additional purchases.
To make the DIY screen repair kit vs professional service comparison useful, count the full task, not just the mesh. Professional repair avoids sourcing and storing tools, while the work is handled by someone experienced with screen installation. The final price depends on the repair and is provided after a quote request; panel size, access, frame condition, and damage extent shape the work. For larger outdoor projects, consider how screen needs fit alongside other exterior improvements.
Your DIY screen repair kit vs professional service choice should reflect the repair’s scope and your available time. A small tear, sound frame, available tools, and flexible schedule favor DIY. A large panel, damaged frame, or repeated repairs can make professional work more practical. The cheaper route is the one that fixes the damage without unnecessary materials or rework.
How difficult is it to use a DIY screen repair kit?
A DIY screen repair kit is easiest to use on a removable panel with a sound frame. The task becomes more demanding when the screen is wide, the spline channel is damaged, or the panel cannot lie flat. A small tear near the middle, for example, is easier to manage than mesh pulled from a corner with a bent frame. The challenge is keeping the mesh aligned while securing it evenly.
Before starting, identify the frame type and inspect its edges. A flat work surface helps keep the frame stable during repair. Check that the replacement mesh extends beyond the frame for installation and trimming. Lay out the spline roller, spline, utility knife, and screwdriver so each tool is ready when needed. Missing or poorly sized spline can interrupt the job after the old material is removed.
Follow these steps in order:
Remove the panel and place it flat, supporting all four sides.
Lift an end of the old spline with a screwdriver, then pull it from the channel.
Remove old mesh and clear debris from the channel without gouging the frame.
Position replacement mesh over the frame, keeping its weave straight with the edges.
Press spline into one side with the roller, then continue along the opposite side.
Work around the remaining edges, keeping mesh tension even at each corner.
Trim excess mesh outside the spline with a utility knife.
The hardest part is balancing tension. Pulling too hard can bow the frame or distort the mesh pattern. Too little tension leaves slack that becomes visible after the spline is seated. Start along a straight edge, then check alignment before securing the opposite side. At the corners, ease the mesh into place rather than gathering it into folds.
A first-time repair also calls for patience during spline installation. If the spline slips out, stop and inspect the channel instead of forcing the roller forward. Debris in the channel can prevent the spline from seating. If the frame bends while you roll, release the tension and reassess the setup. Forcing a tool can turn a mesh repair into frame damage.
Difficulty increases with panel size and access. A narrow panel resting on a table is easier to control than a large panel that flexes during handling. A screen that remains installed may also be harder to reach and tension consistently. If several panels need work, repeating the measuring, trimming, and rolling steps adds to the effort.
Use a DIY kit when the panel is accessible, the frame is intact, and you can work carefully through each step. Professional repair is more suitable for extensive damage, a distorted frame, or difficult access. A complete re-screen can address multiple worn panels together, while an isolated tear may need only mesh replacement. The right choice depends on the frame’s condition and your ability to keep the mesh aligned during installation.
How durable is a DIY screen repair compared with professional repair?
A screen repair lasts only as well as its mesh, spline, and supporting frame. A carefully fitted patch can work for a small tear, while loose spline or distorted mesh can let the opening spread. Professional work can provide consistent fitting, but workmanship and the existing frame still affect the result. Neither method can make a weakened frame structurally sound.
Start by inspecting the whole panel, not just the visible tear. Look along each frame edge for bends, loose corners, and sections where the spline no longer holds. If mesh has pulled free from a corner, for example, the cause may extend beyond the fabric. Replacing the mesh without addressing that condition can leave the panel vulnerable to loosening again.
Fit is central to durability. Mesh cut too short may not stay secured beneath the spline. Mesh pulled unevenly can wrinkle, distort, or strain the frame. During installation, check the panel after securing each edge. If one side bows or the weave shifts, stop and correct the tension before trimming the excess.
Exposure also matters. A screen facing frequent wind, sun, or contact from pets and furniture wears differently from a protected panel. A small puncture from a sharp object may remain limited if repaired cleanly. Repeated pressure against the same area can damage replacement mesh, even when the original repair was neat.
Professional installation brings experience with different frame conditions and screen materials. A specialist can identify a worn spline channel, assess whether the frame remains usable, and fit replacement mesh with consistent tension. This can be valuable when damage spans several panels or access makes careful installation difficult. However, replacing mesh alone won’t solve a bent frame or damaged retaining channel.
To judge a completed repair, inspect these points:
The mesh lies flat, without visible slack or diagonal distortion.
The spline sits continuously within the channel, including at corners.
The frame remains straight and its corners stay joined.
The repaired area does not shift when touched gently.
The surrounding mesh shows no nearby tears or weakened attachment points.
These checks help distinguish a clean repair from one likely to need adjustment. If a corner lifts, avoid pulling the mesh sharply. Remove the affected spline section, inspect the channel, and reseat the mesh with even tension. If the channel is cracked or the frame is bent, stop treating the issue as a mesh-only repair.
Durability also depends on regular, gentle care. Avoid leaning objects against a repaired panel, and clear debris without catching the mesh. After strong winds or accidental impacts, inspect the spline edges and nearby fabric. A small problem found early is easier to address than a tear that has spread across the panel.
For isolated damage on an intact frame, a careful DIY repair can provide a practical result. For widespread wear or enclosure panels with frame concerns, professional assessment can determine whether repair or a complete re-screen is appropriate. Arrange an assessment for screen enclosure damage when several panels need attention or the frame condition is uncertain.
For phone screens, durability also involves protection beyond the display: opening a phone usually breaks its water-resistance seal, and home resealing rarely restores the original protection. A repair that looks sound may therefore leave the phone less water-resistant than before. Consider that trade-off when deciding whether to continue a DIY repair or seek professional help.
North Florida Screen Enclosures: Pool Enclosures
North Florida Screen Enclosures provides pool enclosures, screen enclosure repairs, and complete re-screens for homeowners addressing damage beyond a small, accessible panel. A DIY kit may suit an isolated tear, but widespread mesh wear, loose sections, or damage across multiple panels can call for a more complete repair. Professional work can address the screen system as a whole, helping restore the enclosure’s practical use and appearance. If you’re planning an outdoor project alongside screen work, the company also offers patio covers, elite roofing systems, aluminum balcony railings, and paver patios. Consider professional help when the repair extends beyond what you can reach or handle confidently with a kit. Contact North Florida Screen Enclosures to discuss your project.
Make the Next Repair Decision With Confidence
Before starting another screen project, consider how the repair fits your plans for the outdoor space. A single panel may be a standalone fix, while enclosure work can affect how you use the area around your home. Choosing between a DIY screen repair kit and professional service is also an opportunity to consider whether the repair belongs in a broader improvement plan.
If you’re planning changes beyond screen mesh, consider the space’s function, access, and the condition of its surrounding structure. North Florida Screen Enclosures works on pool enclosures, patio covers and elite roofing systems, and aluminum balcony railings. These options can help homeowners coordinate screen needs with related exterior projects instead of treating each decision in isolation.
Set out the project’s priorities, note the areas needing attention, and choose a path that suits the scope of the work. For help moving forward with an enclosure or related exterior project, contact North Florida Screen Enclosures. A considered next step can help you shape an outdoor space that works well for your home.
Frequently Asked Questions
How much does a DIY screen repair kit cost in the US?
The total depends on which tools you already own and how much mesh the panel needs. Before buying, measure the screen and check the spline channel to choose compatible materials.
What tools and materials are needed for DIY screen repair?
You’ll need replacement screen mesh, spline sized for the frame channel, a spline roller, and a utility knife. A screwdriver can help lift the old spline from its channel. Measure the frame before shopping, then compare the channel and existing spline with the replacement materials. A flat, stable work surface also helps support the panel while you fit the mesh.
How long does DIY screen repair take compared with professional service?
DIY screen repair time depends on the panel’s size, access, and condition, including whether the old spline comes out cleanly. Measuring, removing the existing mesh, fitting new material, and trimming all take time. Professional service also depends on the repair’s scope and access. For a screen in Saint Augustine, describe the affected panels and any frame damage when discussing the work, so it can be assessed accurately.


Comments